
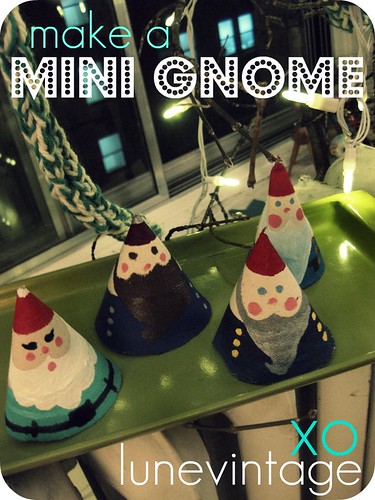
This Monday we decked the studio Holiday style, and shared some handmade holiday crafts at Studio Lune. We managed to fill our bags with handmade ornaments and garland, and these mini gnomes. Wanna make one too?
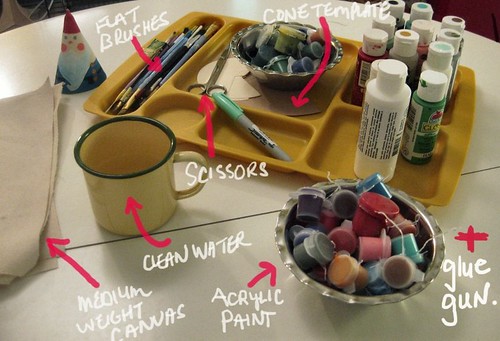
You'll need the following supplies: medium weight canvas, acrylic paint, flat brushes, fabric scissors, hot glue gun, cone stencil, marker or pencil, paint, and water to clean brushes.
Step 1:
Print and Cut Basic Cone Shape
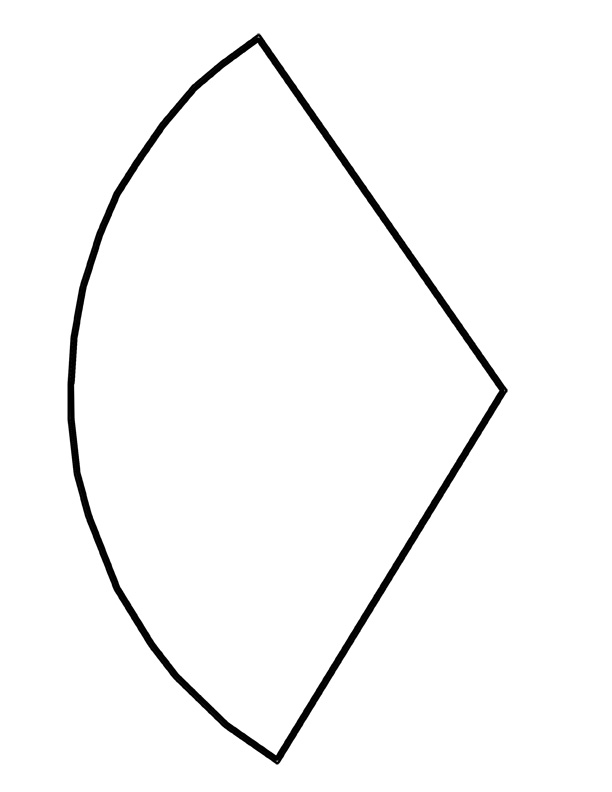
Trace on Medium weight Canvas, and cut out with sharp scissors.
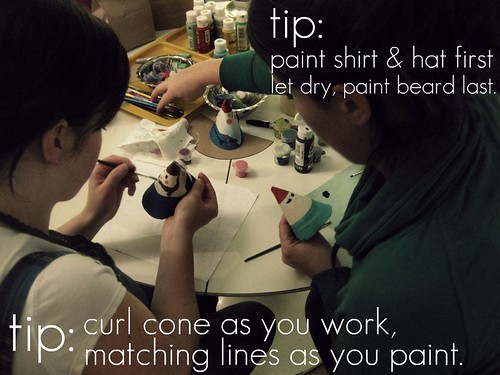
Step 2:
Map out your gnomes face, beard, coat, and hat position while curling your cone. Mark where you will be overlapping fabric and be sure to paint past that edge.
Tip: Start with the coat and hat. Let dry (or use a hair dryer) and continue to overlap the beard, and buttons, belt or pouches.
Continue to fold and curl as you work so your paint lines match where edges meet.
Step 3:
Let dry standing up in a cone shape. Canvas should be stiff enough to stand alone. If you would like a bend in the hat, crimp tip of cone while damp with a clothes pin.
Step 4:
Once dry, secure with a bead of hot glue (with your glue gun). Press and stand to dry.

This project can be as detailed or as simple as you like. Smaller children can paint a forest of cone shaped evergreens for a family of gnomes to live in. Up size the cone to create different heights, thin or stout gnomes. Don't forget to name every one!
ENJOY!!!
XO Jill